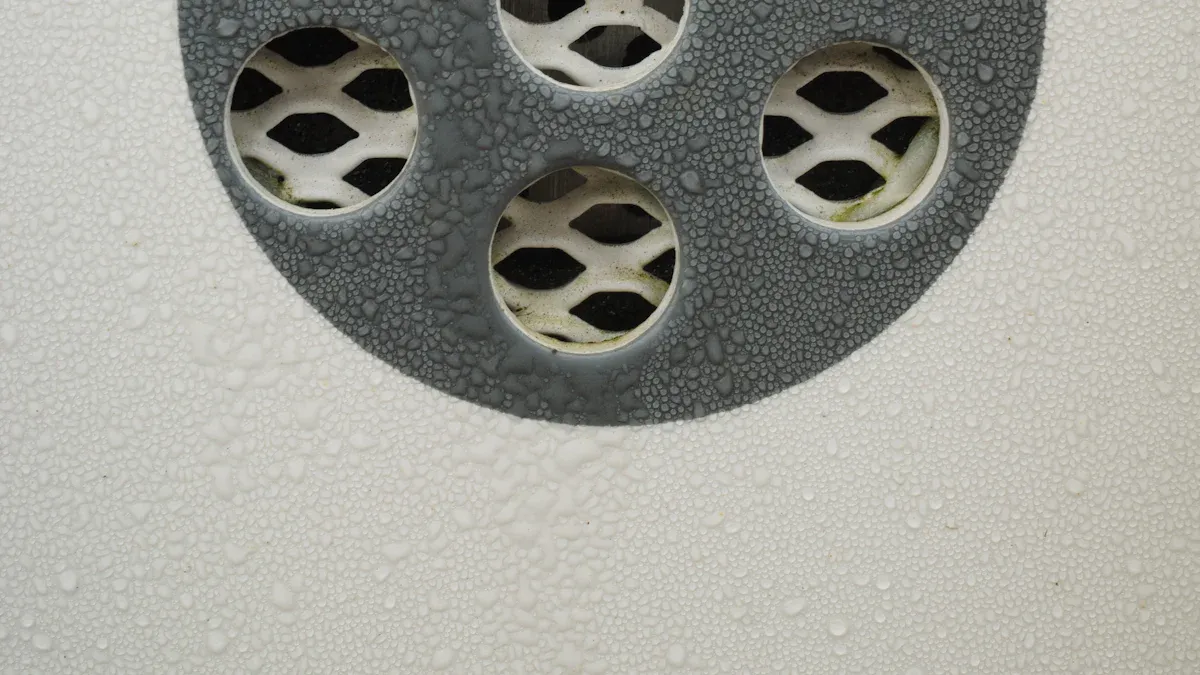
Are you tired of dealing with clogged Drains? A hair catcher can solve that problem! It’s a small, affordable tool that traps loose hair before it goes down the drain. You don’t need to be a pro to install one. With just a little effort, you’ll protect your plumbing and save money.
Key Takeaways
- Choose the right hair catcher for your drain type. Measure your drain or take a picture to find the best fit.
- Clean the drain area before installation. A clean surface helps the Hair Catcher fit properly and work effectively.
- Regularly clean your hair catcher to prevent buildup. This keeps it effective and your drain clog-free.
Tools and Materials for Installing a Hair Catcher

Before you start installing a hair catcher, gather the right tools and materials. Having everything ready will make the process quick and hassle-free. Here’s what you’ll need:
Hair catcher (choose the right type for your drain)
Not all drains are the same, so it’s important to pick a hair catcher that fits yours. Some sit on top of the drain, while others fit inside. Check your drain size and shape before buying one. If you’re unsure, measure the diameter of your drain or take a picture to compare with options at the store. Silicone and stainless steel are popular materials because they’re durable and easy to clean.
Tip: If you have a pop-up drain, look for a hair catcher designed specifically for that style.
Cleaning supplies (soap, sponge, or cloth)
A clean drain ensures the hair catcher fits properly. Grab some soap, a sponge, or a cloth to wipe away any grime or residue around the drain. This step helps the catcher stay in place and improves its effectiveness. You don’t want dirt or buildup interfering with the installation.
Screwdriver or adhesive (if required for your hair catcher type)
Some hair catchers need a little extra help to stay secure. If yours requires screws, keep a small screwdriver handy. For adhesive-based catchers, make sure you have the adhesive included in the package. Follow the instructions provided with your hair catcher to know exactly what’s needed.
With these tools and materials, you’re all set to move on to the installation process. Let’s get started!
Step-by-Step Guide to Installing a Hair Catcher

Step 1: Clean the drain area to remove debris
Before you start, make sure the drain area is clean. Dirt, soap scum, or leftover hair can prevent the hair catcher from fitting properly. Use a sponge or cloth with some soap to scrub the area around the drain. Rinse it thoroughly with water and dry it with a towel. A clean surface ensures the hair catcher stays in place and works effectively.
Tip: If there’s stubborn grime, try using a toothbrush to scrub the edges of the drain. It’s great for reaching tight spots!
Step 2: Select the appropriate hair catcher for your drain type
Not all hair catchers are the same, so choosing the right one is key. Check the shape and size of your drain. Some hair catchers sit on top of the drain, while others fit snugly inside. If you have a pop-up drain, look for a model designed specifically for that style. Picking the right type ensures a secure fit and better performance.
Note: If you’re unsure about the size, measure the diameter of your drain or take a picture to compare with options at the store.
Step 3: Remove the existing drain cover (if applicable)
If your drain has a cover, you’ll need to remove it before installing the hair catcher. Use a screwdriver to unscrew it or gently pull it off if it’s not secured with screws. Be careful not to damage the drain or surrounding area. Once removed, clean the exposed drain opening to ensure a smooth installation.
Tip: Keep the old drain cover in case you need it later. Store it in a safe place.
Step 4: Position the hair catcher securely over or into the drain
Now it’s time to place the hair catcher. If it’s a top-mounted design, position it directly over the drain opening. For in-drain models, gently push it into the drain until it fits snugly. Make sure it’s centered and doesn’t wobble. If your hair catcher requires adhesive or screws, follow the manufacturer’s instructions to secure it in place.
Pro Tip: Test the fit by lightly pressing on the hair catcher. It should stay in place without shifting.
Step 5: Test the hair catcher to ensure proper fit and drainage
Once the hair catcher is in place, run some water to test it. The water should flow freely through the drain while the hair catcher stays secure. If you notice any pooling or slow drainage, adjust the position of the hair catcher. A proper fit ensures it works efficiently and prevents clogs.
Reminder: If the hair catcher doesn’t fit well, double-check the size and type. You may need to try a different model for the best results.
Maintenance Tips for Your Hair CatcherClean the hair catcher regularly to prevent buildup
Keeping your hair catcher clean is essential for it to work effectively. Over time, hair and soap scum can accumulate, reducing its ability to trap debris. Make it a habit to clean it at least once a week. Simply remove the hair catcher from the drain and rinse it under running water. Use your fingers or an old toothbrush to scrub away any stubborn residue. If it’s particularly grimy, soak it in warm, soapy water for a few minutes before rinsing.
Tip: If your hair catcher is dishwasher-safe, you can pop it in the top rack for a thorough cleaning. Always check the manufacturer’s instructions first!
Inspect for damage and replace if necessary
Hair catchers are durable, but they’re not indestructible. Over time, wear and tear can cause cracks or warping, especially if it’s made of plastic. Damaged hair catchers won’t fit properly and may let hair slip through, defeating their purpose. Take a moment to inspect yours during cleaning. Look for signs of damage like broken edges or bent parts. If you notice any issues, it’s time to replace it. A new hair catcher is a small investment that can save you from costly plumbing repairs.
Reminder: Keep a spare hair catcher on hand so you’re never caught off guard if your current one needs replacing.
Use a drain cleaner occasionally to keep the drain clear
Even with a hair catcher in place, small particles can still make their way into the drain. To keep things flowing smoothly, use a drain cleaner every few months. You can opt for a store-bought solution or make your own using natural ingredients like baking soda and vinegar. Pour the cleaner down the drain, let it sit for the recommended time, and then flush with hot water. This simple step helps prevent buildup and keeps your drain in top shape.
Pro Tip: Avoid harsh chemical cleaners, as they can damage your pipes over time. Natural alternatives are safer and just as effective.
By following these maintenance tips, you’ll extend the life of your hair catcher and keep your bathroom drain clog-free. A little effort goes a long way in ensuring your plumbing stays in great condition!
Installing a hair catcher is one of the easiest ways to keep your bathroom drain clog-free. It saves you from costly plumbing repairs and messy cleanups. By following these simple steps and maintaining it regularly, you’ll enjoy a stress-free bathroom experience. Why wait? Protect your drain today!
FAQ
How do I know if a hair catcher fits my drain?
Check your drain’s size and shape. Measure its diameter or take a photo to compare with options at the store.
Can I install a hair catcher without removing the drain cover?
Yes, some hair catchers sit on top of the drain. These don’t require removing the cover and are easy to install.
How often should I clean my hair catcher?
Clean it weekly to prevent buildup. Regular cleaning keeps it effective and ensures your drain stays clog-free.
Media Contact
Company Name: NINGBO JUTYE SANITARY TECH CO.,LTD
Email: Send Email
Phone: +86-18106612756
Country: China
Website: https://www.jutye.com/


